

Pineapple Flowers- How to
A little fancy...

Cut the outer skin off the pineapple. Slice the pineapple crossways, so the core is in the center, cutting the slices as thin as possible with a large, sharp knife. Pat them dry with a kitchen towel. Place the slices in a single layer on a silicone lined baking sheet. Parchment works too, but I prefer silicone for this. Bake them in a 200˚ oven for as long as it takes for them to dry out, shrink and brown ever so lightly at the edges.
How long? I’m never going to give a straight answer to this question. This is where you come in. It depends. Depends on the humidity, how much moisture was in the pineapple, how many trays are in the oven at once, how thick they were actually cut. For about 1/16 inch slice, it will take 2-4 hours. Rotate the trays at least once per half hour. This has the extra benefit of helping to keep an eye on them. They are ready when they feel dry to the touch and are starting to pull away from the liner. They are at peak when they still have some flexibility. Take them too far, and they won’t form anything, and will be crunchy instead.
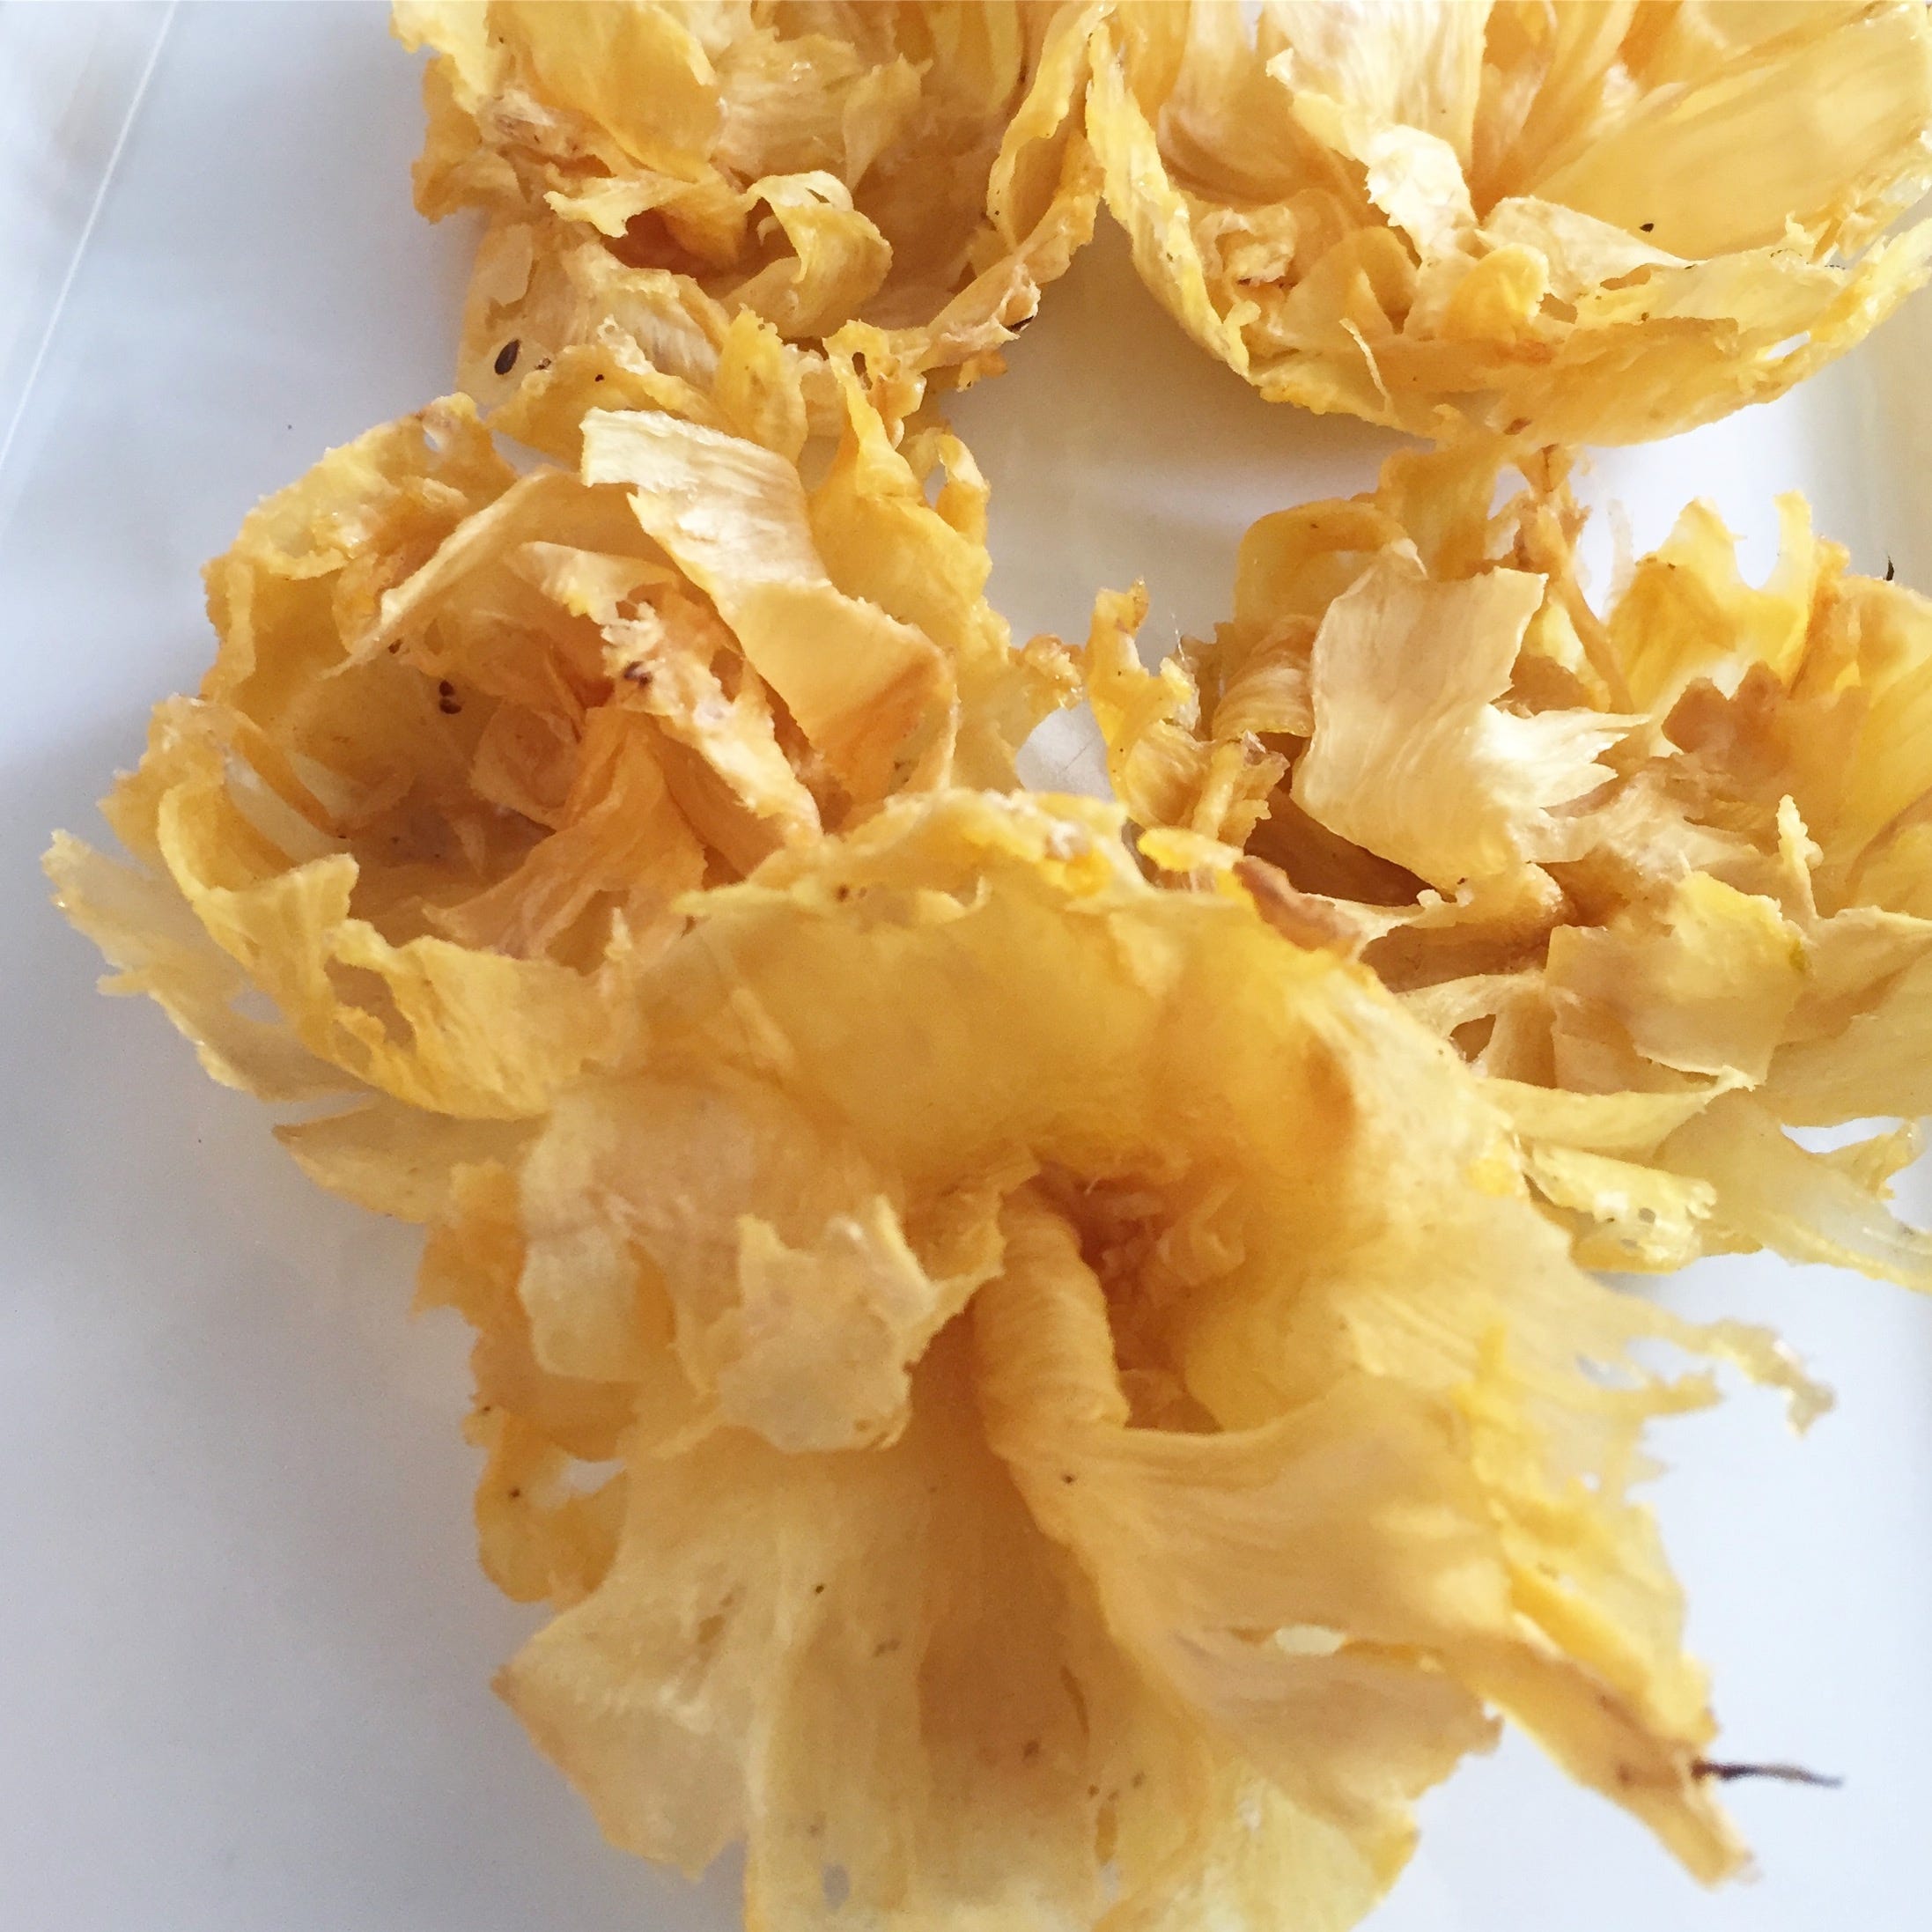
Directly from the oven, move the slices from the sheet pan to the cavities of a cupcake or muffin pan, or use some glassware or cups. The idea is to let them cool in a bit of a cupping form. I like to layer two of them and pinch them underneath at the bottom and gather them a bit for random shapes.
The formed flowers can sit on top of a cake with no support. To put them on the sides of a cake, toothpicks come to the rescue, and piling them touching each other will help to support them.
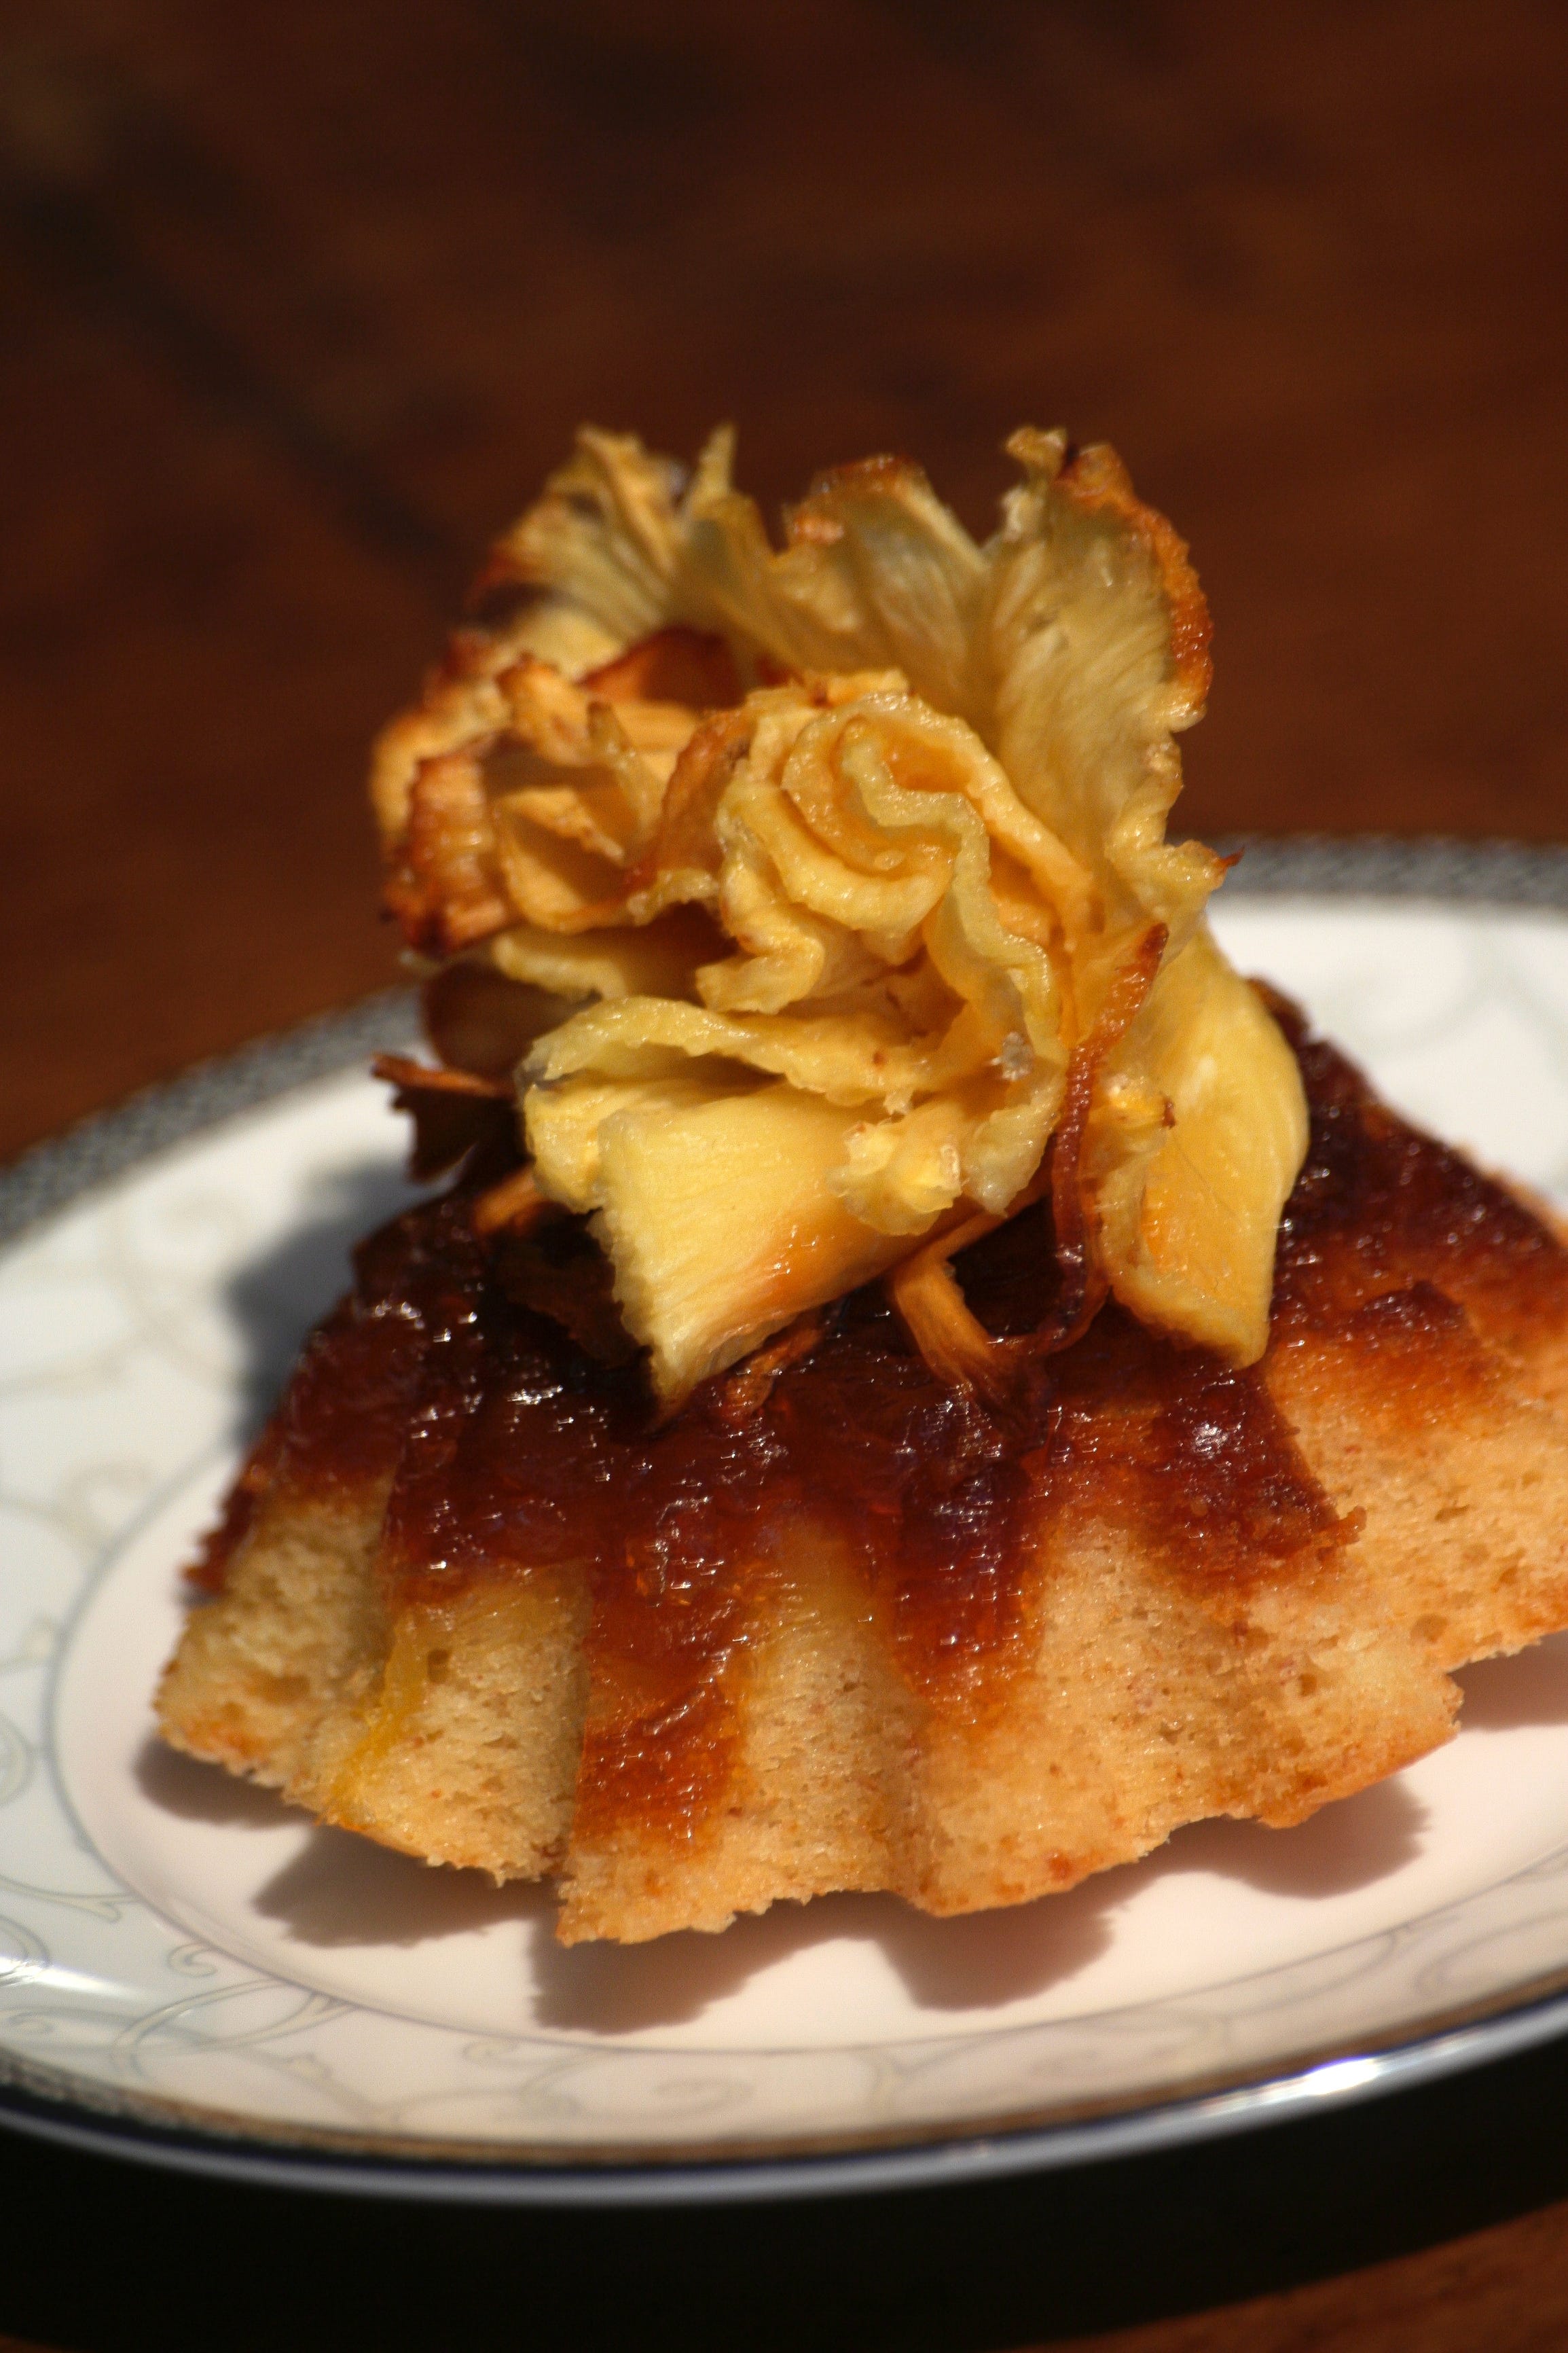

Brilliant idea! Beautifully Edible garnishes